1st phorm

1st phorm is a high-quality recipes brand for weight loss like healthy recipes, dinner, dessert, and lunch ideas

LUNCH

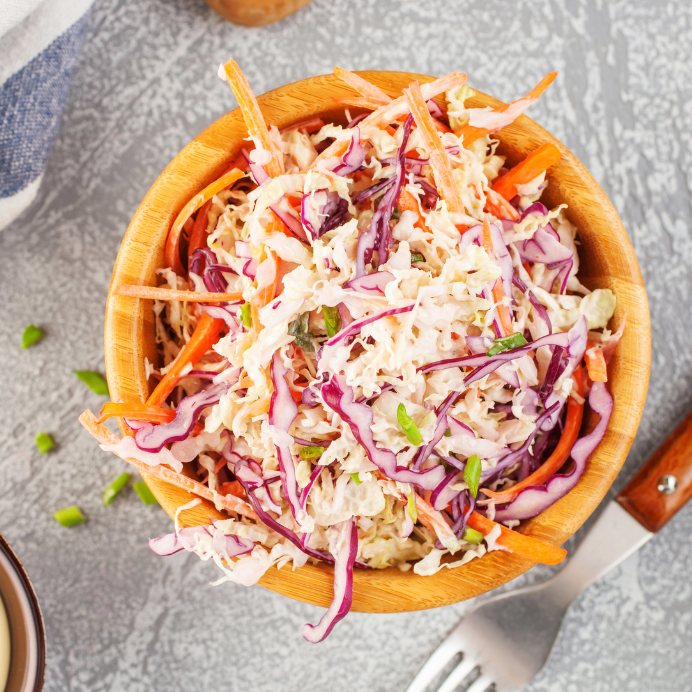
coleslaw with pineapple

Paleo-Friendly Pineapple Coleslaw + BBQ Sides

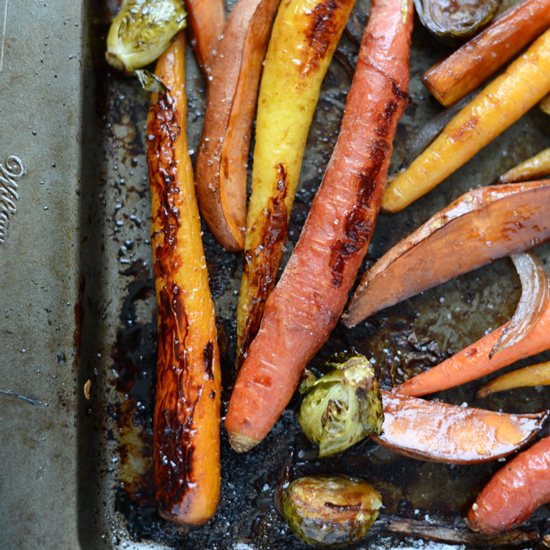
sweet roasted vegetables

Honey Balsamic Roasted Veggies

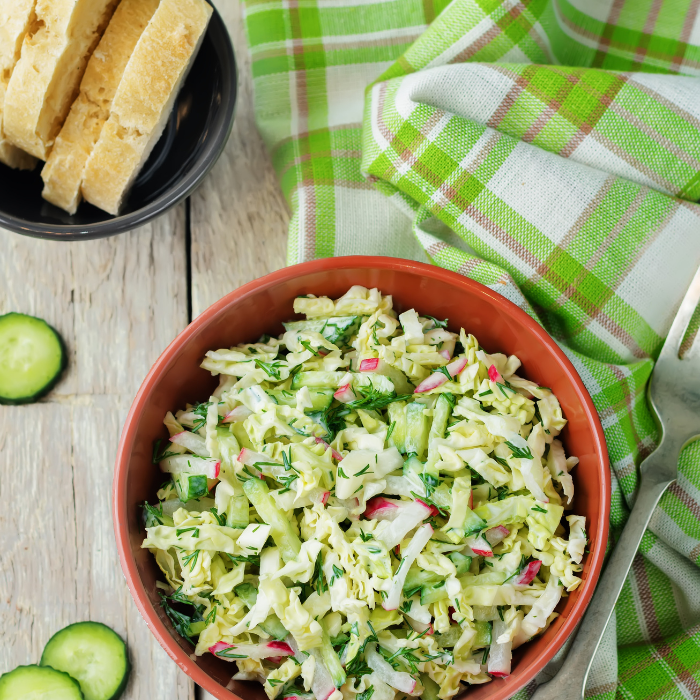
yogurt dill salad dressing

Easy Salmon Salad with Greek Yogurt Dill Dressing

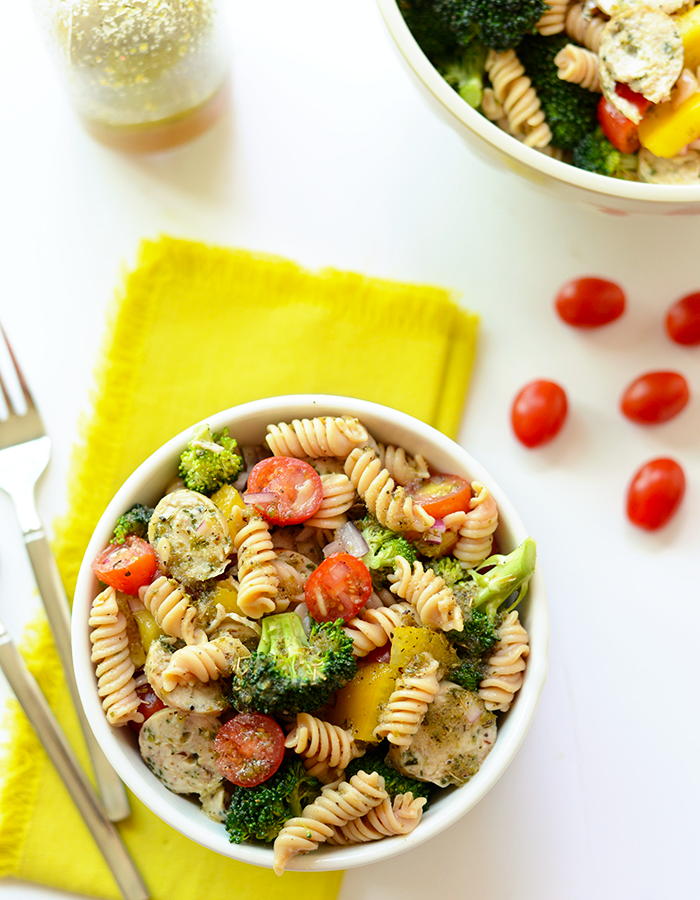
Quinoa Pasta Salad with Chicken Sausage

Quinoa Pasta Salad with Chicken Sausage

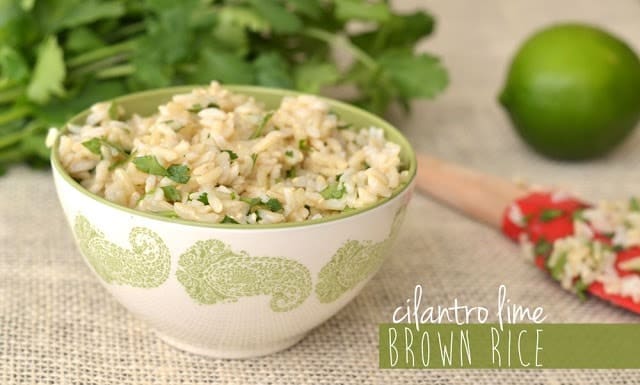
chipotle brown rice recipe

Copy Cat: Cilantro Lime Brown Rice

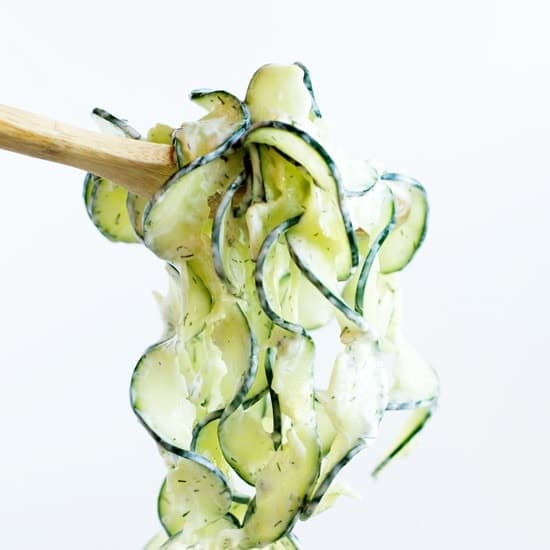
Spiralized Tzatziki Cucumber Salad

Spiralized Tzatziki Cucumber Salad

See More;

Healthy dinner

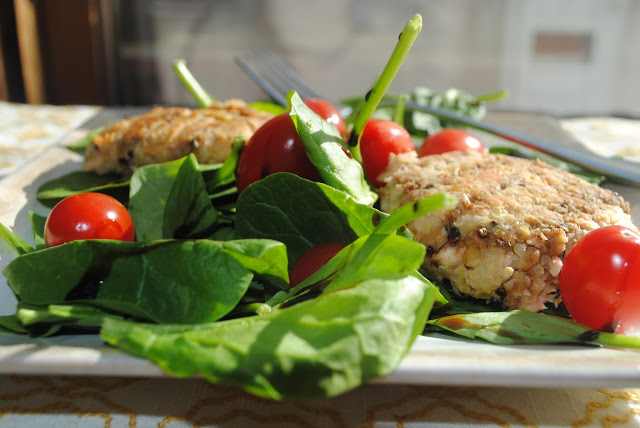
Salmon Bean Burgers

SALMON BEAN BURGERS

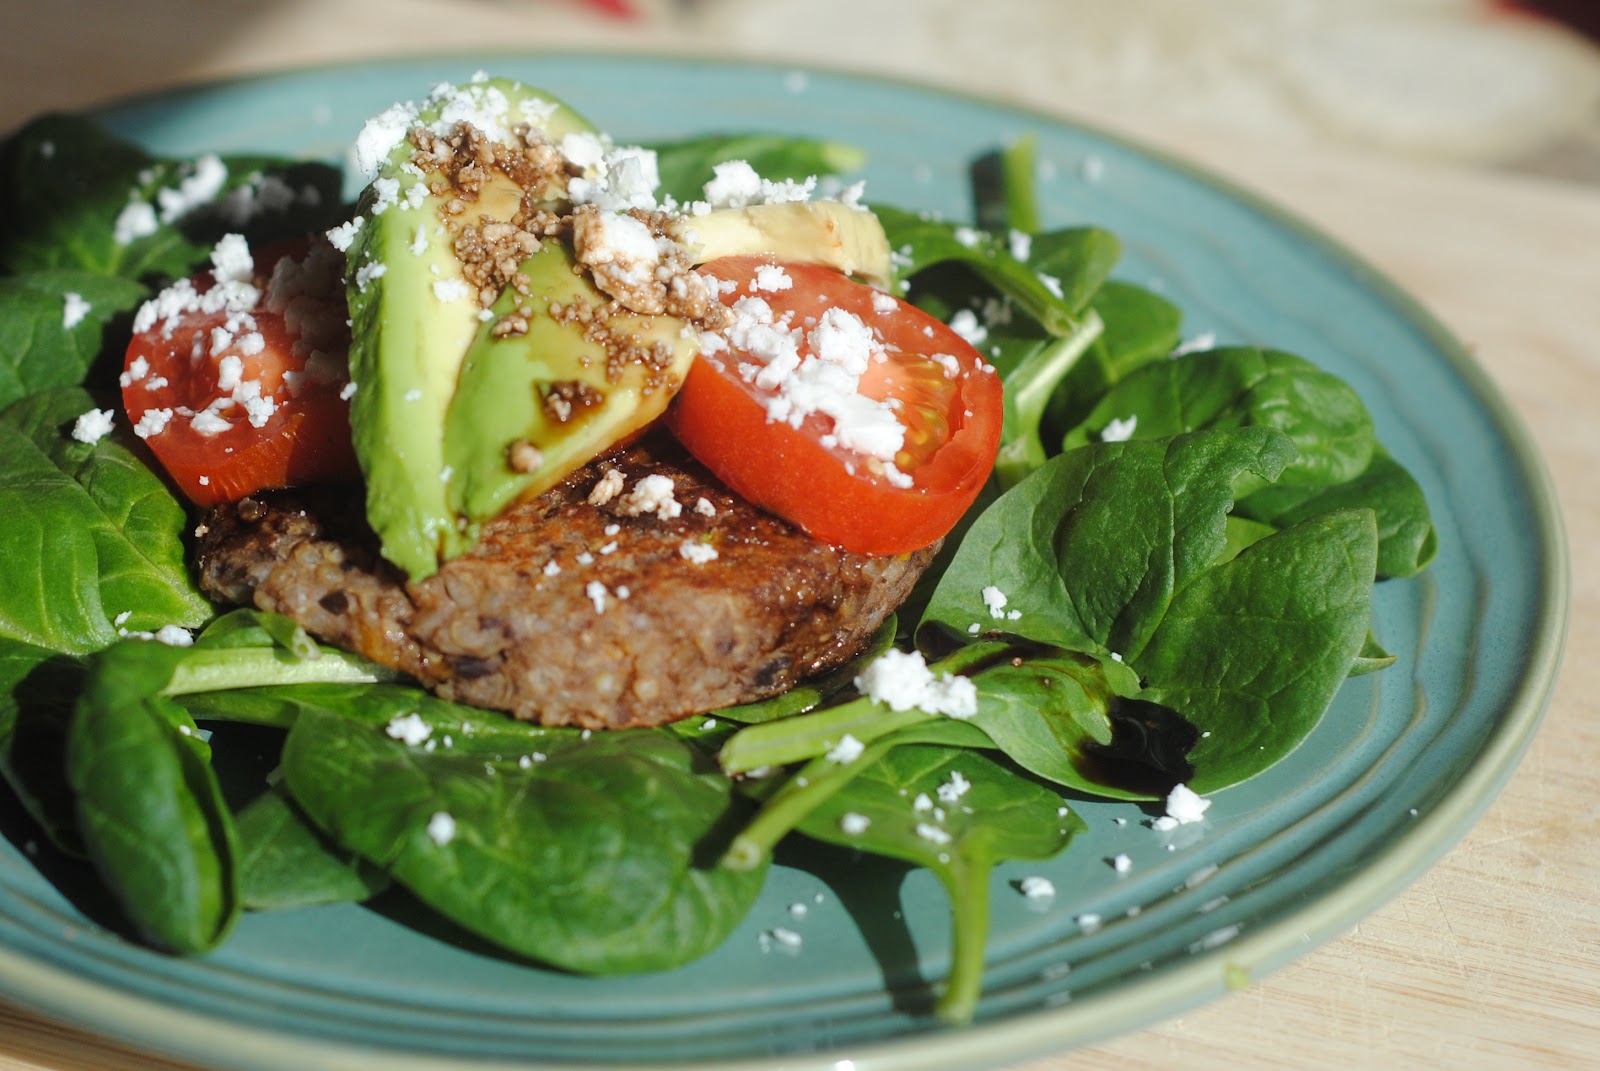
Black Bean Quinoa Veggie Burgers

Black Bean Quinoa Veggie Burgers

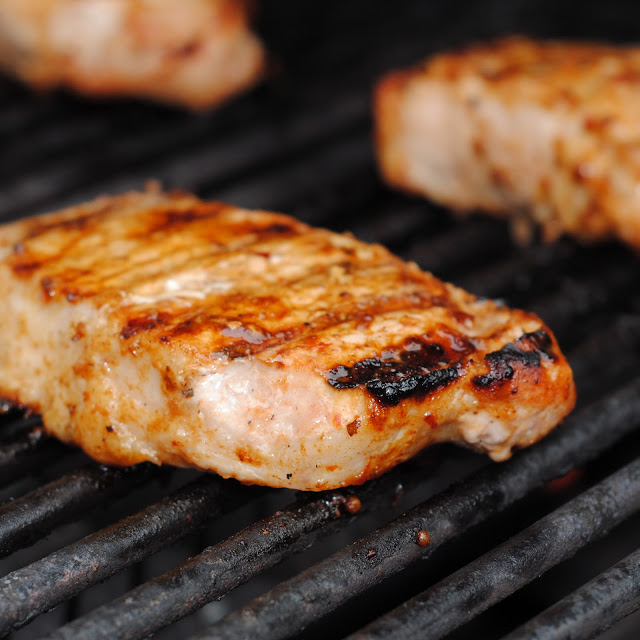
Lemon Grass, Ginger, Soy Pork Chops

Lemon Grass Ginger Soy Pork Chops

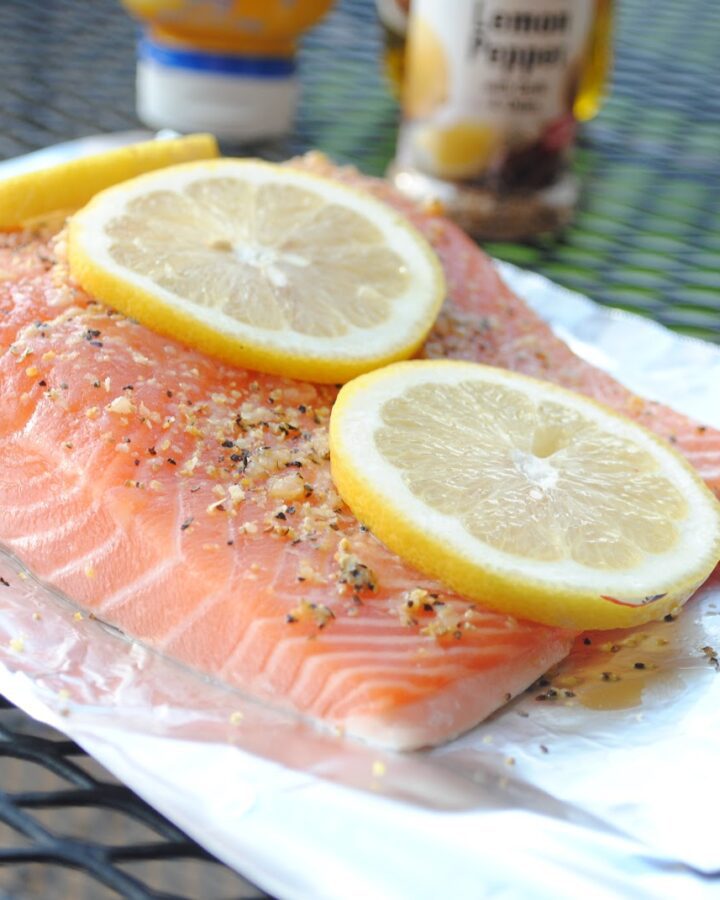
lemon pepper salmon

lemon pepper salmon

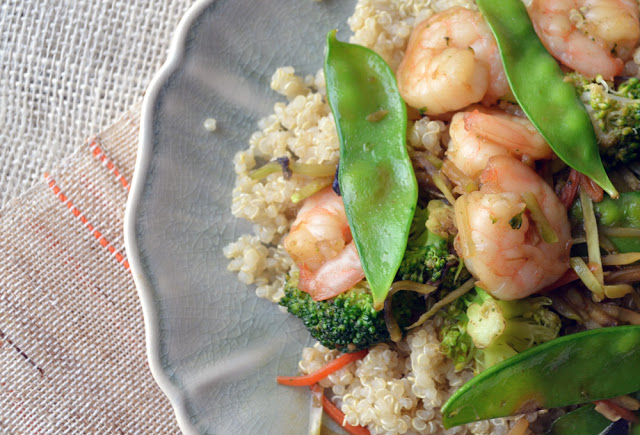
Shrimp Stir Fry + BUTI

Shrimp Stir Fry + BUTI

homemade beef w/ broccoli & [brown] fried rice

homemade beef broccoli fried rice

See More;

  • Home
  • Contact
  • Healthy snacks
  • Recipe
  • Healthy lunch
  • Healthy dessert
  • Breakfast oats
  • Home
  • Privacy Policy
  • About us

Popped Amaranth Peanut Butter Cups

March 25, 2023 by Lee Hersh Leave a Comment

Last winter I found out from Ashley that you can pop amaranth grain. Best discovery ever. At first, I was limited to merely eating it as cereal – ha, so juvenile. But then, my pea brain finally started clicking and I realized how I could use amaranth in other, more decadent ways. Like adding it to dessert!

First things first, are you familiar with amaranth? I’m no expert but I do know it’s a grain that’s very high in protein and gluten free. You can cook it several different ways, but my favorite thus far has been popping. Like popcorn. Yes, it’s the funnest thing you’ll ever do. Yes, I said funnest.

When done properly it comes out looking like puffed rice cereal, which can then be doused in milk, eaten by the handfuls or added to rich, decadent peanut butter cups. Pretty sweet, right?

I thought so.

Popped Amaranth Peanut Butter Cups
yields 12 large cups

Ingredients
1 cup all natural peanut butter {I used crunchy}
2 T butter, melted*
1/2 c powdered sugar*
1/2 c crushed salted roasted peanuts
heaping 1/2 c popped amaranth*
3/4 bag semi-sweet chocolate chips

Method |  Heat oven to 350 degrees. In a large bowl, combine peanut butter and butter until smooth. Add in powdered sugar and peanuts, then mix until combined. Pour in popped amaranth and mix again until combined. Next, grease muffin cups with non-stick spray and fill bottom of cups with chocolate chips – it doesn’t have to be exact. Melt in the oven for 5 minutes. Then, with the back of a metal spoon carefully smooth out the top of the chips while they’re still warm. Next, drop generous spoonfuls of the peanut butter mixture into each muffin cup. Smooth tops with the back of a spoon or your fingers and refrigerate for at least 15 minutes before eating. I froze mine so they’d pop out easier with a knife. Store in an airtight container in the fridge to keep fresh.

*Notes:

  • To pop amaranth, place a medium-to-large pot over medium-high heat and let it get fully hot. Then, add small batches {scant 1/4 c} of amaranth, cover the pot, and quickly shimmy the pot back and forth. They’ll start popping almost immediately and as soon as you don’t see anymore popping {about 10-15 seconds total} quickly transfer them to a bowl. These can burn quick so be sure to work fast. Your first batch may not turn out but use it as a practice run to gage how you can pop most efficiently.
  • Melted butter is probably optional if you want to lighten these up. Or you could likely sub melted coconut oil.
  • Powdered sugar could be lessened or even omitted entirely if you want a less sweet cup. Just compensate with extra amaranth.
  • Use non-dairy chocolate chips and Earth Balance to make these vegan.

Oh my dear these are good! They’re everything a peanut butter cup should be, but with a little extra crunch from the peanuts and amaranth. And the chocolate bottoms give them an extra decadent touch.

The flavor is astonishingly similar to Reese’s PB Cups. If you wanted you could even add another layer of chocolate on top to get them closer to the real thing. But I preferred the peanut butter tops exposed. It gave them a more rustic look and I could taste the saltiness from the peanuts as soon as they hit my mouth.

I’ve somehow managed to not eat the entire batch yet. Somehow.

Ooh, this reminds me. I need to try eating my next one upside down.

Enjoy!

Filed Under: Recipe Tagged With: Popped Amaranth Peanut Butter Cups

Amaranth Oat Griddlecakes

March 25, 2023 by Lee Hersh Leave a Comment

Let’s see, where do I start this story…?

When I first discovered The Edible Perspective a few months ago I became instantly intrigued. Ashley has so many things going for her that I just adore. She lives in Fort Collins, Colorado. She’s always experimenting with new and healthy foods. She went on a detox from just about every potential allergen you can imagine and STILL ended up creating amazing things in her kitchen.

Needless to say, a couple posts in I was hooked and I’m still a loyal follower today.

  • A couple months ago when she posted her recipe for Puffed Amaranth Cereal, I was fascinated and went straight to the health food store to pick up some amaranth grain. I honestly knew nothing about it before I did a little research and found out its nutritional benefits. Check them out here if you’d like.

I tried puffed amaranth cereal and really liked it. I especially took note of how filling it was as I didn’t feel hunger pangs for hours after having one small bowl with a little milk. Amazing, right?

Well, in saying all of that, there are 2 reasons why this post came to be.

1. I had a lot of amaranth grain left over from cereal experimentation that I’ve been wanting to use up.

And 2. I found a griddlecakes recipe in a binder gifted to me at my bridal shower and it looked too good not to try.

So, I got a little creative, subbed amaranth flour for WW flour, and slimmed the recipe down to make a little more than one serving – perfect for me and a little leftover for another meal.

Amaranth & Oat Griddlecakes

Adapted from Gourmet Magazine’s Griddle Cakes [March 2005 issue]
serves 1 + a little extra

Ingredients:

1/3 cup amaranth flour [ground from amaranth grain]
1/4 cup old fashioned oats
1 tsp. sugar
1/2 tsp. baking powder
1/4 tsp. baking soda
pinch salt
1/2 cup low-fat buttermilk [or sub skim milk + 1Tbsp. lemon juice]
1/2 tsp. vanilla extract
1 egg
1 Tbsp. canola oil [or sub other oil, like coconut]

Instructions: Preheat griddle to low-medium heat. Whisk together dry ingredients and wet ingredients in separate bowls, then combine. If batter is too dry or wet, add amaranth and oats or buttermilk to compensate. Scoop 1/4 cup measurements onto griddle and cook until bubbles form on top and texture appears almost dry [about 4-5 minutes]. Then flip and cook for another 3-4 minutes. Serve with desired toppings. The original recipe suggested marmalade and clotted cream. I went for something less fancy…

Did you think I was going to eat pancakes without putting peanut butter, banana and honey on top? Yeah, nice try. I don’t think so.

My first-run experiment turned out so well! I can honestly say that I couldn’t tell a real difference in the texture or taste compared to regular pancakes, which I was very pleased with.

I hope you enjoy these if you give them a try. I will certainly be giving them another go – maybe next time with coconut or blueberries. We’ll see how adventurous I feel : )

Happy pancaking!

Filed Under: Recipe Tagged With: Amaranth Oat Griddlecakes

Toasted Oatmeal & Honey Waffles

March 25, 2023 by Lee Hersh Leave a Comment

I stinkin’ love waffles. Always have.
In fact, when I was younger, one of the only things my mom could lure me out of bed with in the morning was two toasty Eggo waffles with lots of (I Can’t Believe It’s Not) butter and pure maple syrup. Ah, health.

Does it get any better than that as a child? I think not.

But I might as well admit right now that Pop Tarts took a close second – either cinnamon sugar or strawberry, toasted and with lots of butter. Don’t even try and tell me that Pop Tarts don’t reach their pinnacle of perfection when toasted and slathered with butter dripping, down their soft, delectable sides.

Don’t knock it ’til you try it, OK? Just don’t.

However, I do have good news to report.
I did, in fact, graduate from culinary infancy to semi-infancy around age 11, when I moved onto the finer things in life like chocolate Snack Packs. And in high school, nothing touched my palette unless it rhymed with a shmocolate-covered schdonut shem (wink) or tasted like wild cherry pepsi (double wink).

However, now, with a reputation to keep – you know, as a food blogger – I branch out on a daily basis. Popped Amaranth Peanut Butter Cups, Vegan Black Bean Brownie Pancakes, Peanut Stew – you name it, I’ve stuck my culinary tongue in it.

And when it comes to breakfast? I don’t mess around, which is why I had to get my hands on these oatmeal waffles. Because, well, I love oatmeal and I love waffles. The two together simply can’t be a bad thing. They just can’t.

And? They aren’t.
In fact, they’re quite delicious.

Toasted Oatmeal and Honey Waffles
makes 8 or 9 waffles |

Ingredients

1 1/2 cups uncooked rolled oats
1 cup unbleached flour
1 teaspoon baking powder
1/2 teaspoon salt
2 large eggs, separated
1 1/2 cups low-fat milk
4 Tablespoons melted butter
1/2 teaspoon vanilla
2 Tablespoons honey

Method | Preheat oven to 350 degrees F. Spread oats evenly over a cooking sheet evenly and bake 10 minutes, stirring often, until the oats are lightly toasted. Set aside to cool for 10 minutes, then pulse in a food processor until finely ground – about 30 seconds.

Preheat a waffle iron and spray with non-stick spray (if needed). In a large bowl, combine flour, baking powder, salt, and ground oats. With a mixer, beat the egg whites at high speed until soft peaks form. In a medium bowl, whisk together egg yolks, milk, melted butter, vanilla, and honey; stir into oat mixture. Gently fold the egg whites into the oat mixture. Pour about 1/2 cup measurements of the batter onto waffle press and cook until golden. Serve with butter and syrup, or fruit, if desired.

Oh wow, these waffes were everything I was hoping for. They’re soft and light in texture with a little bit of crisp. The oats provide a slightly hearty, nutty taste. They aren’t overly sweet by any measure. And they make the perfect indulgent weekend breakfast or quick, on-the-go weekday morning meal. Any way you slice them, they’re quite a dream.

I had mine with a little butter and syrup, along with a few slices of fresh strawberry and banana. My roommate also dug into one and agreed that they were spot on. So now you have two food lovers’ approval. What more could you possibly need than that?

Go forth and make (toasted oat) waffles.

Enjoy,

Filed Under: Recipe Tagged With: Toasted Oatmeal & Honey Waffles

Orange Vegan Scones with a Hibiscus Tea Glaze

March 25, 2023 by Lee Hersh Leave a Comment

Something magical happened when John and I vsited a little tea house in Seattle, Washington a couple years ago.
We fell in love with tea.

And not just any tea. Really good tea.
We adored the Oolong and Blue People.
And tried Organic Green and Blueberry.
And then there was Strawberry Red, Traditional Black and Coconut.
But the one one that captivated my heart with its whimsical shape, vibrant color and nectar-like flavor was hibiscus.

Hibiscus tea is made from the hibiscus flower and has a delightful floral taste and a slightly tart bite that makes it a refreshing and not overly sweet. It’s also high in Vitamin C and is thought to help lower high blood pressure and cholesterol. Plus, it’s hot pink. Who doesn’t love drinking hot pink tea?

Is there anything more beautiful to photograph than fresh orange zest? I think not.
Not to mention, it goes perfectly with hibiscus flower.

I couldn’t help but add hibiscus to the glaze.
And I knew orange would be delightful in these scones, which are more of a traditional British version, from what I understand of the original recipe.

They are round in shape, slightly healthier, and more appropriate for an afternoon treat with hot tea.
And may I suggest, hibiscus tea?

Orange Vegan Scones with Hisbiscus Tea Glaze
adapted from vegan yum yum | makes ~12 scones

Ingredients
2 cups all purpose flour
2 1/2 tsp baking powder
1/2 tsp salt
1/3 cup Earth Balance Margarine
3 Tablespoons sugar or maple syrup
1/2 cup soymilk
zest of one orange
2 Tablespoons orange juice

Hibiscus Tea Glaze
4-5 Tablespoons brewed hibiscus tea {or other fruity tea}
1/3 crushed hibiscus tea flower {optional}
pinch of orange zest
1/3 cup powdered sugar

Preheat oven to 400 degrees. Whisk all the dry ingredients together in a mixing bowl. Mix the wet ingredients together (soymilk, orange juice and zest). Using a pastry cutter or a fork, blend the Earth Balance into the dry ingredients until there are no chunks of margarine left and the mixture looks like damp sand. Pour in the wet ingredients and mix with your hands to form a soft dough. Only mix until just combined, adding more flour if the mixture is too wet. Turn out the dough onto a floured surface and roll out to a slab ~3/4″ thick. Using a biscuit cutter or a glass with about a 2″ diameter, cut out your scones. Press the scraps of dough together, roll out again, and continue cutting scones until you’ve used up your dough.Transfer scones to a cookie sheet covered in parchment paper, or a non-stick mat. Brush the tops with a mixture of soymilk, powdered sugar and orange juice {optional}.

Bake for 12-15 minutes, being careful not to overcook. Prepare the glaze while baking by whisking ingredients together. While cooling, top with the glaze. Devour right away or wait until slightly hardened. Best with tea or a glass of milk. But feel free to indulge how you wish.

Such a beautiful, pink, glossy glaze.
Think I could’ve eaten the whole bowl.

I followed the original recipe closely except I think I git a little lax while letting them toast under the broiler to brown a bit more. They got away from me just a little and got a bit too brown for my liking, but were still incredibly tasty. So, that is my one piece of advice to help you have a better scone than I did: be careful to not overbake.

The orange in the scones is definitely slight but lovely, so if you want more orange flavor, add more zest. I did like the size of these as opposed to a wedge because they were less filling. And the glaze, of course, was my favorite part.

I sampled one immediately after glazing for quality control purposes and was quite pleased.
And then I ate one more, you know, for further quality control measures.
I have high standards to keep in my kitchen, after all.

Enjoy!

Filed Under: Recipe Tagged With: Orange Vegan Scones with a Hibiscus Tea Glaze

Healthy Coffee Cake with Strawberries

March 25, 2023 by Lee Hersh Leave a Comment

Can you believe that I’d never made a coffee cake in my life before this one?
I actually thought there was coffee in coffee cake. Ha, fool.

After doing a little research I discovered that there was, in fact, no coffee in coffee cake. Duh.
But it can be enjoyed alongside coffee. How lovely.
2 points for that.

But I also found out that most versions are incredibly unhealthy with sticks of butter,
multiple cups of sugar, strange additions and even cream cheese in some cases.
-2 points for that.

At that point, we were back to 0,
which meant I started from scratch.

I was now on a quest for healthy coffee cake, and healthy I found.
After realizing strawberries were the only fruit I had on hand,
strawberry coffee cake it was. Healthy strawberry coffee cake, at that.

Healthy Coffee Cake with Strawberries

Author: Dana

Recipe type: Dessert

Prep time:  15 mins

Cook time:  30 mins

Total time:  45 mins

Serves: 9-12

  • 1½ cups unbleached flour
  • 1/2 cup whole-wheat flour
  • 1 tsp baking soda
  • ½ tsp salt
  • 3 Tbsp sugar
  • ½ tsp cinnamon
  • ½ cup walnut pieces
  • ½ cup packed brown sugar
  • 2 Tbsp butter softened
  • 2 Tbsp canola or coconut oil (or sub apple sauce)
  • 2 eggs
  • 1 tsp vanilla extract
  • 1 cup plain low-fat yogurt (or sub fruit flavored)
  • 3/4 cup strawberries, quartered
  1. Preheat oven to 350 degrees. Spray an 8-inch square cake pan with cooking spray.
  2. Whisk together the flours, baking soda and salt. In a small bowl, stir together the granulated sugar, cinnamon and walnuts.
  3. In a large bowl, beat the brown sugar, butter and oil until fluffy, scraping down the sides when necessary. Beat in the eggs, 1 at a time, beating until fully combined. Beat in the vanilla and yogurt. Add the flour mixture in two portions, stirring until just combined.
  4. Spread half of the batter into the prepared pan. Sprinkle half of the nut mixture over the batter and top with the strawberries. Spoon the rest of the batter into the pan, smoothing the top. Sprinkle the remaining nut mixture over the cake, pressing gently.
  5. Bake until a toothpick or knife inserted in center comes out clean, about 30 to 35 minutes. Let cool almost completely and serve warm, or cover to retain freshness. Should stay for a few days. Freeze of refrigerate for longer storage.

recipe adapted from ellie krieger

I am a coffee cake virgin no more.
I loved everything about this cake.

I loved that it had whole wheat flour, walnuts, cinnamon, and fresh, sliced strawberries.
I loved that it had just two tablespoons of butter and was plenty moist from the yogurt.
I loved that each bite was studded with cinnamon-sugar coated walnuts.
And I loved that it went perfect alongside my tea and iced coffee.

In other words, this cake has a new fan in me.

Enjoy,

Filed Under: Recipe Tagged With: Healthy Coffee Cake with Strawberries

Strawberry Granola Crisp for Two

March 25, 2023 by Lee Hersh Leave a Comment

John and I are usually apple crisp kind of people.

He likes apples.
I like ice cream.
It just works out.

But sometimes, you just gotta branch out. Otherwise you don’t know what else is out there.
Like Strawberry Granola Crisp.

Don’t get me wrong, this is still dessert. But it’s a relatively healthy dessert!
You get a nice serving of fruit.
The oats and granola give it a ton of fiber.
And the added sugar and fat is pretty low.

You could eat this for breakfast if you wanted. Just leave off the ice cream.
Unless, of course, it’s Valentine’s Day.
Then all bets are off.

Strawberry Granola Crisp for Two
inspired by Real Simple

Ingredients
2 cups frozen or fresh strawberries
3-4 Tablespoons light brown sugar
sprinkle of salt
1/3 c rolled oats
1/3 granola {I used Bear Naked triple berry crunch}
2 T unsalted butter, softened

Method | Heat oven to 350 degrees. In a large bowl, mix the strawberries and 1 Tablespoon of brown sugar to coat. In a separate bowl, combine the granola, oats, remaining brown sugar and salt, and then add the butter and mix together with your fingers. Place the strawberries in two oven-safe bowls or ramekins and top with dry mixture. If using fresh berries, cook for 20-30 minutes or until fruit is bubbling and the crisp layer is golden brown. If using frozen, cook for 35-45 minutes. Let set for a few minutes and serve warm with vanilla ice cream.

Oh dear.
Apple crisp may hold a special place in my heart but this strawberry crisp is amazing.

I loved how the berries got all sweet and bubbly.
The crumble layer became toasty and golden brown.
And the vanilla ice cream gave it decadent strawberry pie al a mode feel.

If I could’ve, I would’ve eaten John’s portion, too.
But that wouldn’t have been very nice now would it?
Especially so close to Valentine’s Day.

So, I practiced self restraint and kept it to one bowl.
One magnificent, delicious, soul-warming bowl.

Enjoy,
Dana

Filed Under: Recipe Tagged With: Strawberry Granola Crisp for Two

  • « Previous Page
  • 1
  • …
  • 4
  • 5
  • 6
  • 7
  • 8
  • …
  • 16
  • Next Page »
  • Facebook
  • GitHub
  • Instagram
  • Pinterest
  • Twitter
  • YouTube

Breakfast

Chicken Fajita Breakfast Bake

Chicken Fajita Breakfast Bake

Peanut Butter Banana Oatmeal Bake

Peanut Butter Banana Oatmeal Bake

Easy Banana Protein Mug Cake

Easy Banana Protein Mug Cake

See More;

[

Privacy Policy