1st phorm

1st phorm is a high-quality recipes brand for weight loss like healthy recipes, dinner, dessert, and lunch ideas

LUNCH

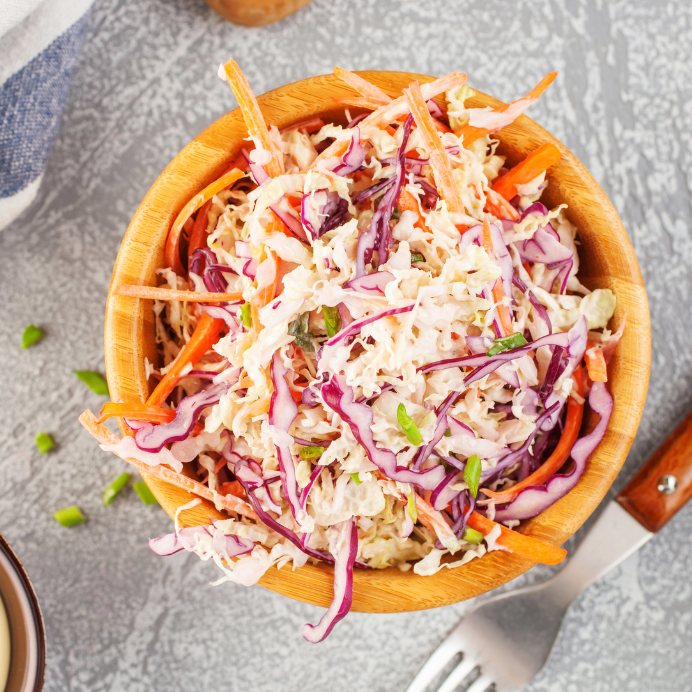
coleslaw with pineapple

Paleo-Friendly Pineapple Coleslaw + BBQ Sides

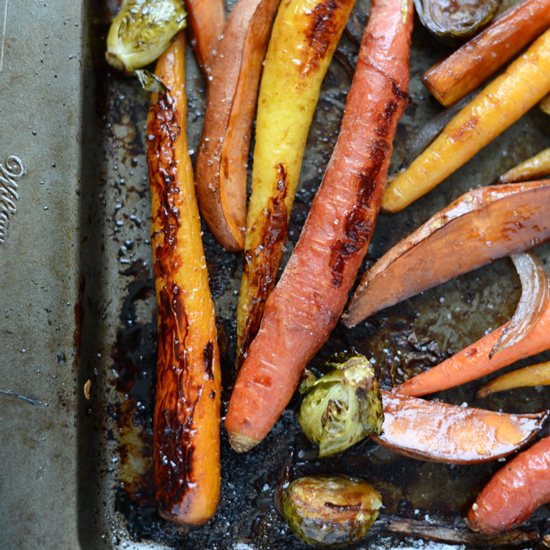
sweet roasted vegetables

Honey Balsamic Roasted Veggies

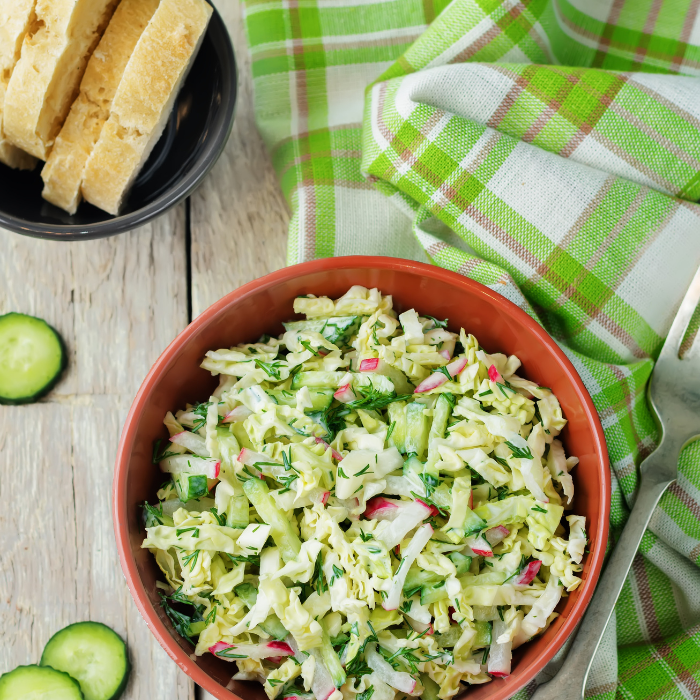
yogurt dill salad dressing

Easy Salmon Salad with Greek Yogurt Dill Dressing

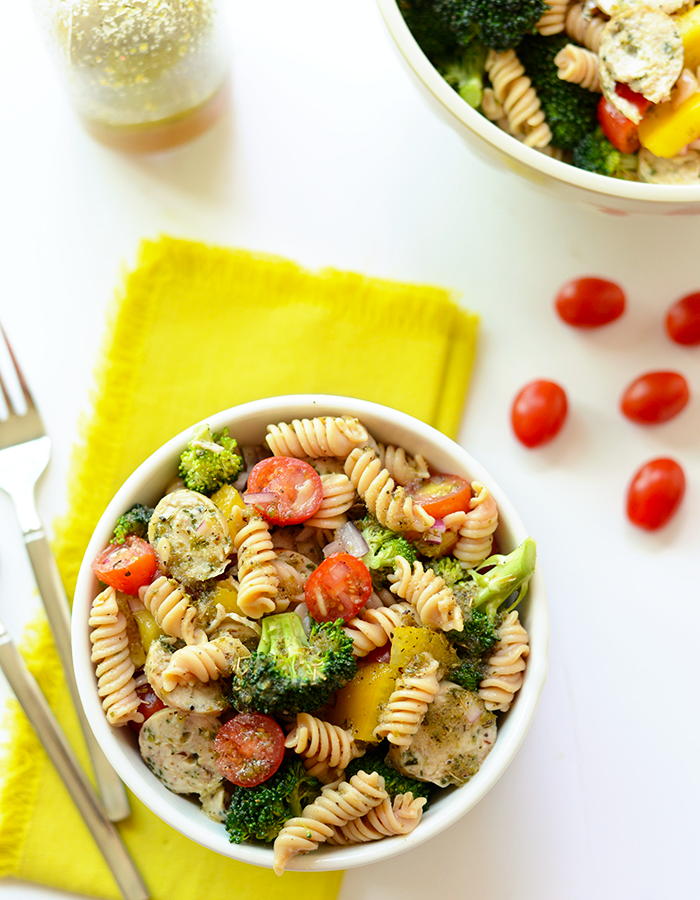
Quinoa Pasta Salad with Chicken Sausage

Quinoa Pasta Salad with Chicken Sausage

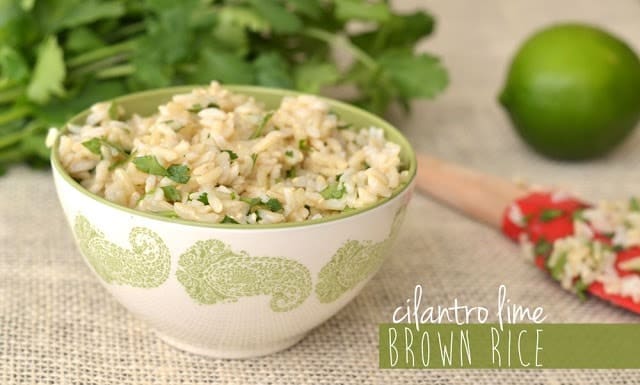
chipotle brown rice recipe

Copy Cat: Cilantro Lime Brown Rice

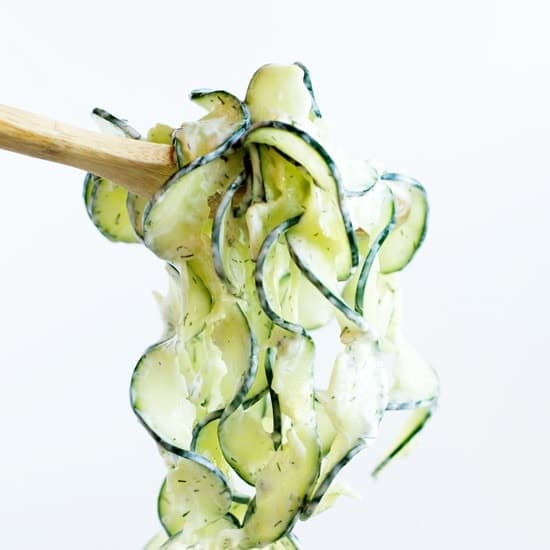
Spiralized Tzatziki Cucumber Salad

Spiralized Tzatziki Cucumber Salad

See More;

Healthy dinner

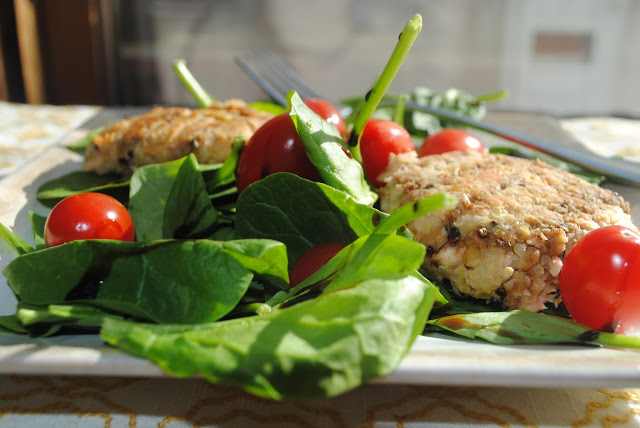
Salmon Bean Burgers

SALMON BEAN BURGERS

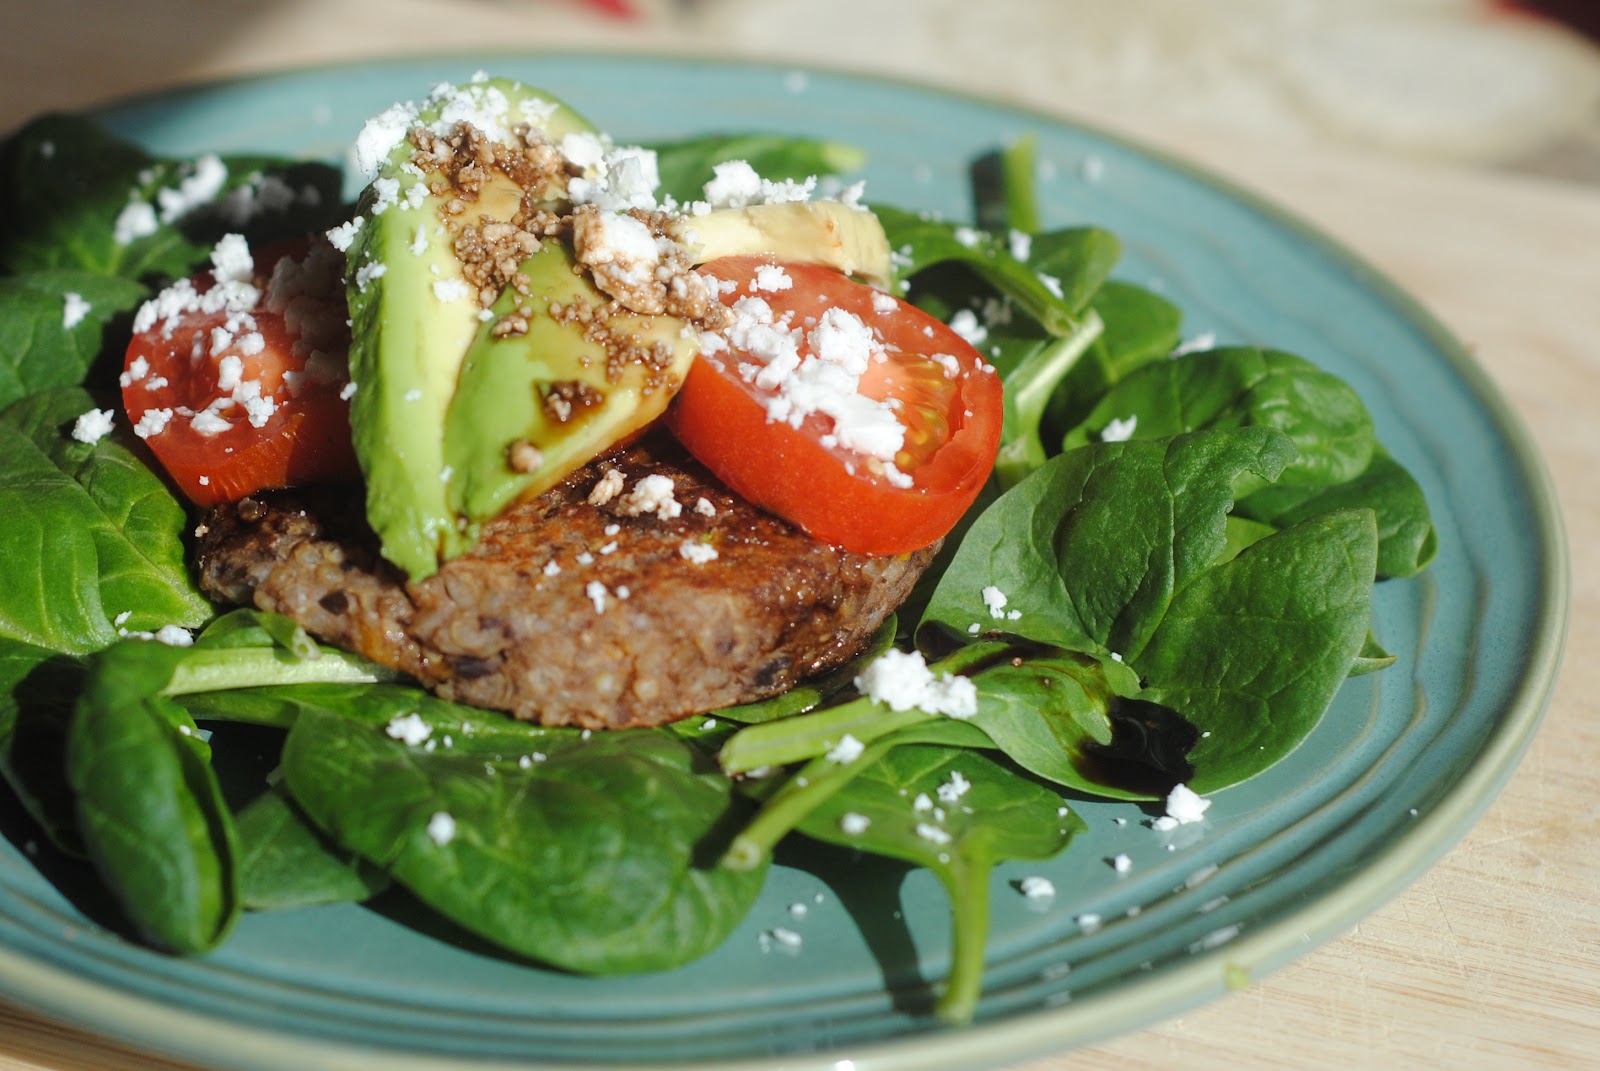
Black Bean Quinoa Veggie Burgers

Black Bean Quinoa Veggie Burgers

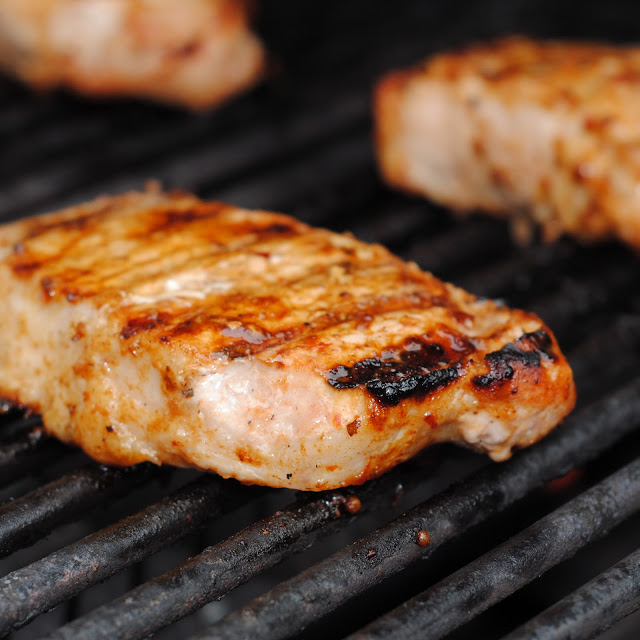
Lemon Grass, Ginger, Soy Pork Chops

Lemon Grass Ginger Soy Pork Chops

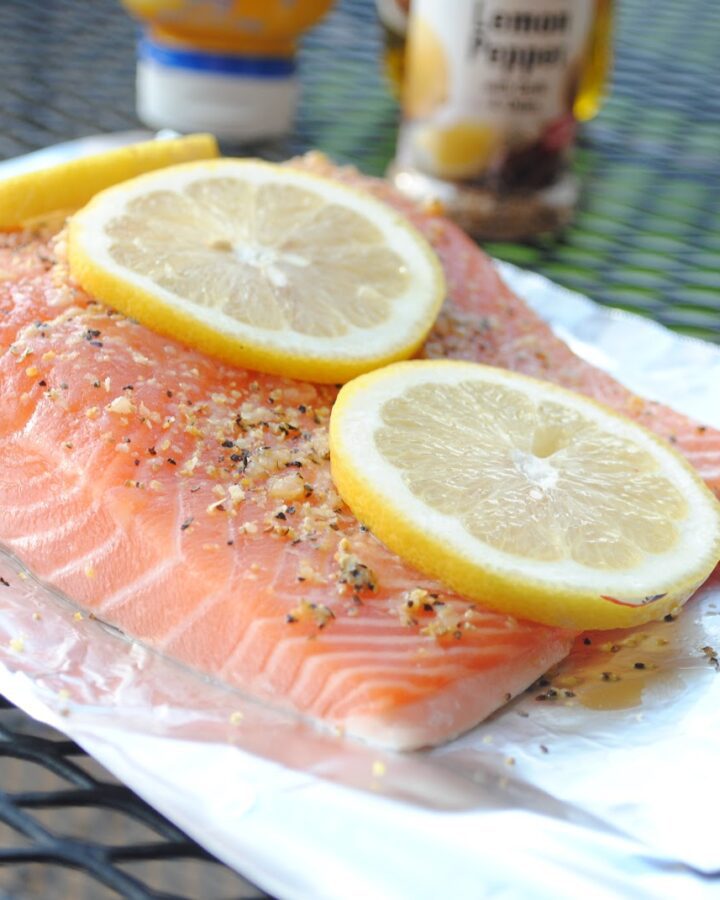
lemon pepper salmon

lemon pepper salmon

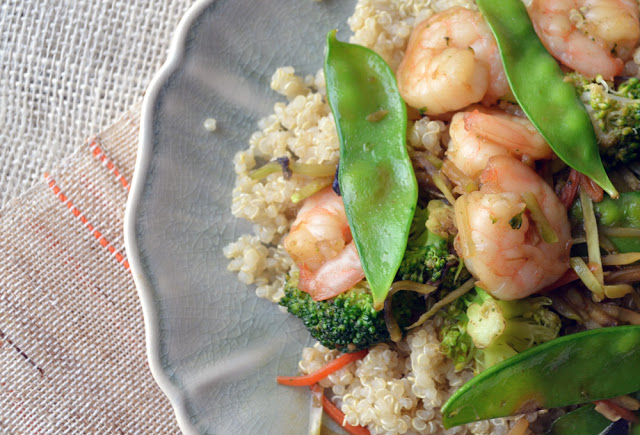
Shrimp Stir Fry + BUTI

Shrimp Stir Fry + BUTI

homemade beef w/ broccoli & [brown] fried rice

homemade beef broccoli fried rice

See More;

  • Home
  • Contact
  • Healthy snacks
  • Recipe
  • Healthy lunch
  • Healthy dessert
  • Breakfast oats
  • Home
  • Privacy Policy
  • About us

Gnu Natural Snack Bar Review

March 25, 2023 by Lee Hersh Leave a Comment

If there’s one thing you should know about me it’s that I’m all about snacking. Usually healthy, sometimes not so much. But when it comes down to it, I really love finding new nutrient-rich foods that keep me full without packing on the poundage. So when GNU Natural Foods contacted me to do a review of their Flavor & Fiber Bars, my answer was a resounding ‘yes!’

Gnu bars are a healthy snack that pack 12 g of fiber into each, 130-140 calorie bar, and ach bar is made with delicious, all-natural ingredients and are available in more than eight adventurous flavors like carrot cake, cinnamon raisin and chocolate brownie. All GNU bars are vegan except for the Blondie, which contains milk powder.

Just in case you were wondering where the “GNU” comes from, the name was inspired by the African Gnu that has an ox-like head, mane of a horse, and horns of a buffalo. It looks unusual from the outside, but inside it functions beautifully – as does the GNU bar.

Another thing I love about GNU bars? They’re a small company that’s committed to making all-natural foods that help address specific nutritional needs and health conditions. And in light of the American obesity epidemic, their all natural bars are just the type of healthy snack we should be all eating, and especially giving to our kids.

I was shipped one box of 16 bars – 2 of each of their 8 flavors – and have been extremely impressed by all of them! The peanut butter, chocolate brownie, blondie and carrot cake were all delicious, and none of them left me feeling hyped up on sugar or unsatisfied in my hunger. They were just the right amount of protein and calories a snack should provide, but were so delicious it was like a having a special mid-day treat. (my little sister-in-law Bethany loved them, too. )

Here’s the awesome news – GNU bars is offering to giveaway AN ENTIRE 16-bar case to one reader in their choice of flavor! How rad is that? To enter simply leave a comment telling me why you’d like to try GNU bars. Extra entries are granted for:

One winner will be picked next Monday. Good luck!

Filed Under: Bars Tagged With: Gnu Natural Snack Bar Review

apple butterscotch magic bars

March 16, 2023 by Lee Hersh Leave a Comment


Seven Layer Bars, Magic Bars, Hello Dolly Bars.

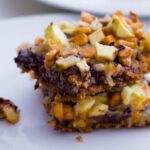
Whatever you call them… layering butterscotch, chocolate, coconut, sweetened condensed milk, and nuts atop a buttery graham cracker crust will take you far in life. I recently learned that they are called Seven Layer Bars if all of the seven layers are present.  Take something away and you’ve got yourself a Magic Bar.  And Hello Dollies were the original name of the layered dessert. ;)

But today, I’m adding a layer or two.  Tart, juicy apples and sweetly spiced ground cinnamon.

Today’s dollies are all dressed up for the fall!

The recipe could not be any easier.  No mixing equipment or multiple bowls are needed – just a bowl or two and a simple hand tossed layering technique to put it all together.

  I made a small batch in an 8×8 baking pan – the recipe can easily be doubled if you’re making them for a big family, get together, or party.  Or if you are extra hungry!  With no where to go but my tummy, a small batch of these not-so-diet-friendly bars was plenty.

Start by making your bottom layer.  Simply grind up some graham crackers and mix with melted butter – you could always use boxed graham cracker crumbs but I was feeling extra Sally-Homemaker today so I ground the crackers up myself.  This will be your crust for all the good stuff!

Traditional Seven Layer Bars have equal parts chocolate and butterscotch chips.  I scaled back on the chocolate chips because I didn’t want the chocolate to overpower the apples or cinnamon.  You could easily leave the out the chocolate altogether but… let’s not be silly. ;)

Next comes the butterscotch. I doubled up on the butterscotch because I am a complete butterscotch fool.

You are too?  Good. You’re going to LOVE these bars!

Top the chocolate & butterscotch with shredded coconut, diced apples, cinnamon, and crunchy walnuts.  I use Granny Smith apples because of their tart flavor – a perfect balance for all the sugar in the other layers.  Honey Crisp apples would be a wonderful variety to use as well.

Binding all of this glory together, the final and most crucial layer is the sweetened condensed milk.  You’ll want to completely drench the layers with a nice pour of the good stuff.

As the bars are baking, the juices from the apples and the moisture from the sweetened condensed milk seep down into each layer, completely infusing each corner  of the pan with a sticky sweet goo. Each bite is completely rich and decadent.

The bars take about 35 minutes in the oven and will need to cool completely before you cut into them or else you’ll left with a crumbly sticky mess all over your counter. Since I have the patience of a 3 year old, I chilled the bars in the refrigerator for 30 minutes before slicing into squares.

Get your tall glass of milk ready.

The flavor and texture contrast of each layer will make your head spin.  Crunchy, creamy, buttery, juicy, and chewy – you’ve got it all. Each bite is something different, which is just what the doctor ordered for those of us with texture A.D.D.

I’m practically drooling as I type this.  (!!!)

 The chocolate & butterscotch chips hold their shape, the walnuts & coconut obtain a toasty flavor, and the apples & cinnamon give this traditional dessert an unexpected festive flair.

Having made this dessert twice in two weeks, let’s just say I’ve found my new favorite way to trash up some apples.

Whatevs.

Print
clock clock iconcutlery cutlery iconflag flag iconfolder folder iconinstagram instagram iconpinterest pinterest iconfacebook facebook iconprint print iconsquares squares iconheart heart iconheart solid heart solid icon
apple butterscotch magic bars.

apple butterscotch magic bars.


  • Author: Lee Hersh
Print Recipe
Save Recipe Recipe Saved

Ingredients

Scale
  • 1 cup graham cracker crumbs (about 6 full graham crackers ground up)
  • 1/4 cup salted butter, melted
  • 1/2 cup semi-sweet chocolate chips
  • 1 cup butterscotch chips
  • 1/2 cup sweetened shredded coconut
  • 1 teaspoon cinnamon
  • 1 cup peeled apples, diced (1 small apple)
  • 3/4 cup chopped walnuts (or any nut)
  • 8 oz sweetened condensed milk (a little more than half of a standard 14 oz can)

Instructions

  1. Preheat oven to 350F. Line 8-inch or 9-inch square baking pan with parchment paper or aluminum foil. Spray generously with non-stick spray. Set aside.
  2. Stir together graham cracker crumbs and melted butter.  Mixture will be relatively crumbly.  Press onto the bottom of the prepared dish and slightly up the sides.
  3. Layer chocolate chips and next 5 ingredients (in that order) into prepared baking pan.  Drizzle with sweetened condensed milk.
  4. Bake for 35-38 minutes or until center is set.  Allow to cool completely and lift the bars out of the pan using

Did you make this recipe?

Share a photo and tag us — we can’t wait to see what you’ve made!

Filed Under: Bars Tagged With: apple butterscotch magic bars

chocolate dipped brownie bites.

March 16, 2023 by Lee Hersh Leave a Comment


I went on a sprinkle binge this weekend.

A Halloween sprinkle binge.

It’s officially October tomorrow. I’m not ashamed of my premature festive-sprinkle-madness.

Pardon my recipe-repeat today.  Although I’m sure you never saw the originals posted back in March.  Thankfully we’re nearing Halloween because those old photos may give you a fright!

I figured I’d showcase the brownie bites for you again because (1) I wanted to bake these brownies and (2) I want you to bake these brownies.

Get it? Got it. Good.

Whether they are bite sized, oversized, or regular… I’m pretty picky about my brownies.

Actually, it’s the brownie texture I’m particular about.

You see, brownies come in all different forms.  They may be cake-like, fudgy, chewy, moist, dense, greasy, or dry.   Or a weird combination of all of the above.

I’ve said it before and I’ll say it again: I prefer my brownies so chewy and so fudgy that they taste like a dense chocolate frosting you can eat with a fork.  Not greasy, not cakey, and certainly not dry.  Eww.

But it’s an arduous task to find a homemade brownie recipe that is fudgy, but not greasy.  Tender, but not cakey.  Chewy, but not dry.  Luckily, I have a no-fail homemade brownie recipe encompassing all that.

A recipe that has won my heart for years.

My brownie selling points: this recipe uses melted quality chocolate instead of cocoa powder, thus producing an extremely rich, intense chocolate flavor without drying the brownie out.  I also use as little flour as possible, so I can avoid a cakey brownie. There’s also NO mixer needed!  Simply melt the butter and chocolate and add the remaining ingredients.

Easy peasy.

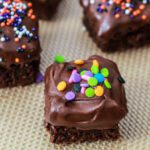
To make the brownie bites, I simply cut the baked and cooled brownies into tiny squares.  You could also cut them into rectangles or use cookie cutters to make assorted shapes.

I chill my brownie bites before I dip them because they are much too delicate to dip into heavy chocolate when they are room temperature.

For dipping my goodies, whether it is chocolate covered pretzels or today’s brownies, I almost always use Ghirardelli Baking Bars.  These bars are good quality chocolate and melt very easily.  Plus, I can usually find them on sale and stock up.

The amount of chocolate in my pantry at any given time is startling.

Now comes the fun part!  After you melt the chocolate, simply dip the top of the chilled brownie bite into it.

Did I even need to type that out?! ;)

Then you can go sprinkle-crazy with your brownie bites!  Use any sprinkles your heart desires.  For today’s brownies, I used my collection of Halloween sprinkles.  Pretty!

I need to admit that it’s not the double dose of chocolate that sold me on this recipe.

It was the sprinkles.

Obviously.

A chocolate treat to add to your holiday recipe arsenal, these brownie bites are sure to be gobbled up by kids and adults alike.  I plan to wrap them up in little treat bags for my coworkers and friends during the holidays.

Friends reading this post: please act surprised.

*If you prefer, you may use a boxed brownie mix instead the homemade brownies. I promise, I won’t be mad.

Print
clock clock iconcutlery cutlery iconflag flag iconfolder folder iconinstagram instagram iconpinterest pinterest iconfacebook facebook iconprint print iconsquares squares iconheart heart iconheart solid heart solid icon
chocolate dipped brownie bites.

chocolate dipped brownie bites


  • Author: Lee Hersh
Print Recipe
Save Recipe Recipe Saved

Ingredients

Scale

For the Brownies (or use your favorite boxed mix)

  • 1/2 cup (1 stick) unsalted butter
  • 8 ounces coarsely chopped bittersweet (or semi-sweet) chocolate (I used 2 4 oz Ghirardelli Semi-Sweet Chocolate Baking Bars)
  • 1 1/4 cups sugar
  • 3 large eggs
  • 1 tsp vanilla extract
  • 3/4 cup all-purpose flour
  • 1/4 teaspoon salt

Instructions

For Dipping

  1. Preheat oven to 350F. Spray 11 x 7 inch baking pan (or 13 x 9 inch baking pan for thinner brownies) with cooking spray. Set aside.
  2. Melt butter and semi-sweet chocolate in a medium saucepan on medium heat, stirring constantly (about 6 minutes). Remove from heat and let cool to room temperature (about 15 minutes).
  3. Stir sugar into cooled chocolate/butter mixture until combined.  Add in the eggs one at a time, whisking until smooth after each addition. Whisk in the vanilla. Gently fold in the flour and salt.  Pour batter into prepared pan, smoothing the top with a knife. Bake for approx 35 minutes, or until a toothpick comes out *almost* clean.
  4. Allow brownies to cool completely (I stuck mine the refrigerator for 1 hour) and cut into bite-sized squares using a cold knife for clean cuts.  Allow to chill the brownie bites for at least 1 hour in the refrigerator.  The bites must be cold when you dip them.
  5. When the brownie bites are chilled, begin to dip them.  In a medium size bowl, melt the chocolate chips or baking chocolate for about 30 seconds in microwave, stirring every 10 seconds. Microwave for longer until chocolate is completely smooth.
  6. Dip brownie tops into melted chocolate and decorate with sprinkles.  Chill in the refrigerator for about 20 minutes until chocolate is hardened.

Notes

I kept my brownie bites in the refrigerator.  They are good up to one week stored covered.

Did you make this recipe?

Share a photo and tag us — we can’t wait to see what you’ve made!

Filed Under: Bars Tagged With: chocolate dipped brownies

Homemade Chewy Fudge Granola Bars

March 16, 2023 by Lee Hersh Leave a Comment


And when I say chewy, I mean chewy.

Think store-bought chewy granola bar meets fudgy no-bake cookie.

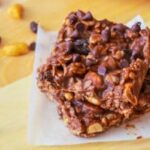
Packed with ordinary ingredients like crunchy peanuts, chewy oats, creamy coconut oil, plump raisins, and melty chocolate.

Really really really melty chocolate.

A healthy medley of texture, taste, sweet & salty all in one little snack bar.

Simple and innocent as they seem, these have GOT to be the best granola bar I’ve ever tasted.  That’s mighty big praise for a simple little health bar. Storebought have nothing on these.

What makes them so wonderful?  Let me count the ways.

It’s a recipe that comes together in 10 minutes flat; you hardly have to expend ANY effort to make these.  The ingredients are all pantry-staples. Nothing weird and certainly nothing unheard of.

Start with coconut oil. Coconut oil lends the softest texture EVER to no-bake cookies or granola bars.  Combined with some chocolate chips, it creates a luscious and creamy base for the rest of today’s ingredients.  Plus, it’s a much healthier fat than canola oil or butter.

Read here for the health benefits of coconut oil

Please note: there is no underlying coconut taste in these bars. So even if you loathe coconut, no fret! You won’t be able to taste it.

We’ve also got a mix of old-fashioned rolled oats and crispy rice cereal (Rice Krispies).  The oats give the bars an unbelievably chewy texture and the crispy rice cereal gives the bars some bulk.

There is absolutely no added refined sugars in these granola bars.

Much unlike the funky gunky stuff you’ll find in store-bought bars, my granola bars are sweetened with maple syrup and chocolate chips.  No fake stuff here.  Just wholesome ordinary ingredients that you probably already have on hand.

Holding the bars together is a hefty dose of crunchy peanut butter.

We all know the magic powers of peanut butter & chocolate, so let’s just move right along.

 Let’s talk chunks.  When it comes to granola bars, the more chunks, the better.

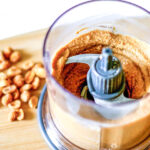
In addition to the chunky peanut butter, I threw honey roasted peanuts and raisins into my granola bars.  My pantry is nearly always stocked with both because I eat and bake with them so often.  In fact, the ONLY ingredient in my favorite homemade peanut butter is… honey roasted peanuts. Love!

Feel free to use whatever chunks you like – coconut, butterscotch chips, almonds, banana chips, seeds, or dried cranberries.  The bars are completely customizable to what YOU like– the sky is the limit here.

The coconut oil makes the bars unbelievably soft.  The melted chocolate chips turn into fudge. You have chunky peanut butter and peanuts to give the bars back some crunch.  Chewy oats, plump raisins keeping their shape, and crispy rice cereal.  TEXTURE OVERLOAD.  I wouldn’t have it any other way.

Store these no-bake granola bars in the refrigerator.  Kept at room temperature, the bars will not hold their shape and get quite melty due to the liquidty components of coconut oil.  Served cold, these bars are like biting into a cold candy bar.  Exactly what I’m looking for after a long work day or at midnight.  It happens.

Have you ever tried a chilled chocolate bar?  Cold is how I prefer them!

Molded in an 8×8 baking pan, the bars can be cut into any shape you prefer.

I cut mine into easy squares and got 12.  Try cutting them into rectangles, much like storebought chewy granola bars.

Or just go at the whole pan with a fork, knife, and napkin.

Or use your chocolate-y fingers.

The bars are completely vegan.  If you follow a vegan diet, make sure to check the ingredients on your chocolate chips to assure they’re dairy-free.

To err on the healthy side, I didn’t use TOO many chocolate chips in the granola bar base.  I simply added them back in on top of the bars. ;)

These granola bars are LONG gone from our kitchen, so today’s post is torture as I sit here typing.

Next batch I’m totally adding M&Ms or sprinkles. (!!!)

Homemade Chewy Fudge Granola Bars

Print
clock clock iconcutlery cutlery iconflag flag iconfolder folder iconinstagram instagram iconpinterest pinterest iconfacebook facebook iconprint print iconsquares squares iconheart heart iconheart solid heart solid icon
Homemade Chewy Fudge Granola Bars – Sallys Baking Addiction

Homemade Chewy Fudge Granola Bars – Sallys Baking Addiction


  • Author: Lee Hersh
Print Recipe
Save Recipe Recipe Saved

Ingredients

Scale
  • 1/3 cup coconut oil
  • 1/2 cup semi-sweet chocolate chips
  • 1/2 cup crunchy peanut butter (or creamy)
  • 1/3 cup maple syrup (or honey)
  • 1 and 1/4 cup old-fashioned oats
  • 3/4 cup crispy rice cereal
  • 3/4 cup add-ins (I used raisins and honey roasted peanuts)
  • 3 Tablespoons mini chocolate chips (optional)

Instructions

  1. Line an 8-inch or 9-inch square baking pan with parchment paper. Set aside.
  2. In a medium saucepan over low heat, melt the coconut oil and chocolate chips together until smooth. Stir in the peanut butter and maple syrup. Remove from heat.
  3. Mix in the oats, crispy rice cereal, and add-ins. Press mixture into prepared baking pan. I used the back of a spatula to evenly press. Top with mini chocolate chips if desired.
  4. Refrigerate for at least 2 hours or freeze for up to one hour. Cut bars into squares. Store bars in an airtight container in the refrigerator for up to 10 days.

Did you make this recipe?

Share a photo and tag us — we can’t wait to see what you’ve made!

Filed Under: Bars Tagged With: Homemade Chewy Fudge Granola Bars

banana nutella granola

February 11, 2023 by Lee Hersh Leave a Comment

banana nutella granola

I have to admit, it’s easy to get wrapped up in sharing my dessert recipes with you all the time.  There’s just something about a fudgy brownie and gooey caramel cookie that I know you will love!

Maybe it’s all the sugar. ;)

But in all honesty, I find the most joy in baking wholesome goodies that I can feel good about eating every day.  Homemade breakfast bars, munchy granola, fruity smoothies, and whole wheat muffins.

banana nutella granola

In fear that healthier items may bore you, I have scaled back on posting them as much.

But I’m excited to share with you a few new recipes in the coming weeks that are not only friendly on the waist line, but taste good.  Like, really really good.

banana nutella granola

If you’re anything like me, you have a semi-serious infatuation with Nutella.

Whether it’s smeared on a piece of toast, swirled into a pumpkin pie, or stuffed into a muffin, there’s pretty much no way I can turn down that thick, creamy, luscious cocoa hazelnut spread.

banana nutella granola

One repeat granola recipe I have is my Dark Chocolate Cherry Nutella Granola.  The tart cherries, the dark chocolate chunks, and the crunchy granola clusters are baked under by a light swirl of Nutella.  The granola itself is surprisingly light tasting, making it hard to stop munching.

More often than not, you’ll find us sitting on the couch on a Friday night watching The Big Bang Theory, a beer in hand, and a bowl of this granola.

True story…

Today’s granola was an easy switch up from the old favorite.

I simply mashed a banana, melted it down with maple syrup, Nutella, vanilla & a pinch of salt.  I poured it over a bowl of oats, flax, & slivered almonds, and baked it into a crunchy oblivion.

I topped the warm granola with semi-sweet chocolate chips and banana chips for added flavor and texture.

The chocolate and Nutella do not overpower the banana taste at all, which is exactly what I was looking for.  Rather, the flavors simply complement each other.

Not much Nutella goes into the recipe because I wanted the banana to be able to stand up to its strong chocolate flavor.  I also wanted to keep the granola fairly light.

The precise combination of mashed banana, Nutella, and maple syrup do a great job binding the oats to make all those huge clusters.  I’ve told you before, the big clusters are my favorite part. :)

I loved how crunchy this granola was.  Even without oil or butter, this granola bakes up into a crispy texture.  It stays nice and crunchy for the first day or two, but as the flavors meld together the granola get softer.  It’s all that banana!

The recipe is highly adaptable as long as you stick to the banana/Nutella/maple syrup ratio. Feel free to mix in whichever dried fruits, nuts or seeds you prefer.

Getting creative with mix-ins is what makes granola so much fun to make!

I seriously couldn’t stop eating this. Best. problem. ever

Filed Under: Bars Tagged With: banana nutella granola

chocolate frosted reeses puffs treats

February 10, 2023 by Lee Hersh Leave a Comment


I love being in my kitchen developing new recipes or tweaking old ones.  Getting my hands wet, my apron messy, and dirtying every measuring cup in the house (God bless my dishwasher).  Baking is kinda like therapy!  Good for the mind aaaaand the tummy.  Somedays I could spend hours in the kitchen!

And today was…. not one of those days.
With my nifty AccuWeather app on my iPhone, I could tell today was going to be a hot one in Baltimore.  Hot days and hot ovens DO NOT mix well in my teeny tiny apartment.  Unless I want to feel like I live in a sauna, I try not to turn on the oven on sweltering hot days.

Sooooo…. Sally’s Baking Addiction quickly turns into Sally’s No-Baking Addiction.

No-bake recipes are the bestest, right?!

Well, I honestly can’t think of a better way to no-bake something than to throw chocolate, butter, marshmallows, and Reese’s Puffs into a pan.  Reese’s Puffs are the sugary crack cereal that I never ate much of when I was growing up.  They are peanut butter + chocolate flavored crunchy sugar puffs that are quite addicting with or without milk.  Now that I’m a grown up, I can take these sugary little puffs of heaven and add even more sugar and butter to them because… well, why not?

And if that wasn’t enough, let’s just add a thick layer chocolate fudge frosting on top.

And throw on a crapload of Reese’s Pieces.

Mmmmm. These bars are pure no-bake insanity, people.

 
Print
clock clock iconcutlery cutlery iconflag flag iconfolder folder iconinstagram instagram iconpinterest pinterest iconfacebook facebook iconprint print iconsquares squares iconheart heart iconheart solid heart solid icon
chocolate frosted reese’s puffs treats

chocolate frosted reese’s puffs treats


  • Author: Sandra
Print Recipe
Save Recipe Recipe Saved

Ingredients

Scale
  • 1/4 cup (4 Tbsp) unsalted butter
  • 1 10.5 oz bag mini marshmallows
  • 6.5 cups Reese’s Puffs cereal
  • Chocolate Fudge Frosting (recipe below)
  • 1 – 1.5 cups Reese’s Pieces (optional)

    Chocolate Fudge Frosting

    • 2 cups semi-sweet chocolate chips
    • 1/2 cup (1 stick) unsalted butter, cubed

Instructions

  1. Spray a 11×7 baking pan with nonstick spray. Set aside.
  2. In a large saucepan over low heat, melt the butter.
  3. Add the marshmallows and stir constantly. Once the marshmallows are completely melted, remove pan from heat.
  4. Stir in the Reese’s Puffs until they are completely coated with the marshmallow. Press into prepared baking pan. I used a spatula sprayed with nonstick spray to make the sticky cereal easier to press down.
  5. Spread chocolate fudge frosting over bars. Press Reese’s Pieces lightly into the fudge frosting so they stick. Chill for at least 1 hour so the chocolate can set before cutting into squares.

Chocolate Fudge Frosting:

  1. In a large microwave-safe bowl, microwave the chocolate chips and cubed butter for 30 seconds.  Remove and stir.  Microwave for another 30 seconds and stir.  Continue microwaving in 30-second intervals until chocolate can be stirred smooth.  Once completely melted smooth, spread chocolate on top of Reese’s Puffs treats. If topping with Reese’s Pieces, press them lightly into the fudge frosting so they stick.  Chill bars for at least 1 hour so the chocolate can set before cutting into squares.
  • Category: Bars

Did you make this recipe?

Share a photo and tag us — we can’t wait to see what you’ve made!

Filed Under: Bars Tagged With: chocolate frosted reese’s puffs treats

  • Facebook
  • GitHub
  • Instagram
  • Pinterest
  • Twitter
  • YouTube

Breakfast

Chicken Fajita Breakfast Bake

Chicken Fajita Breakfast Bake

Peanut Butter Banana Oatmeal Bake

Peanut Butter Banana Oatmeal Bake

Easy Banana Protein Mug Cake

Easy Banana Protein Mug Cake

See More;

[

Privacy Policy