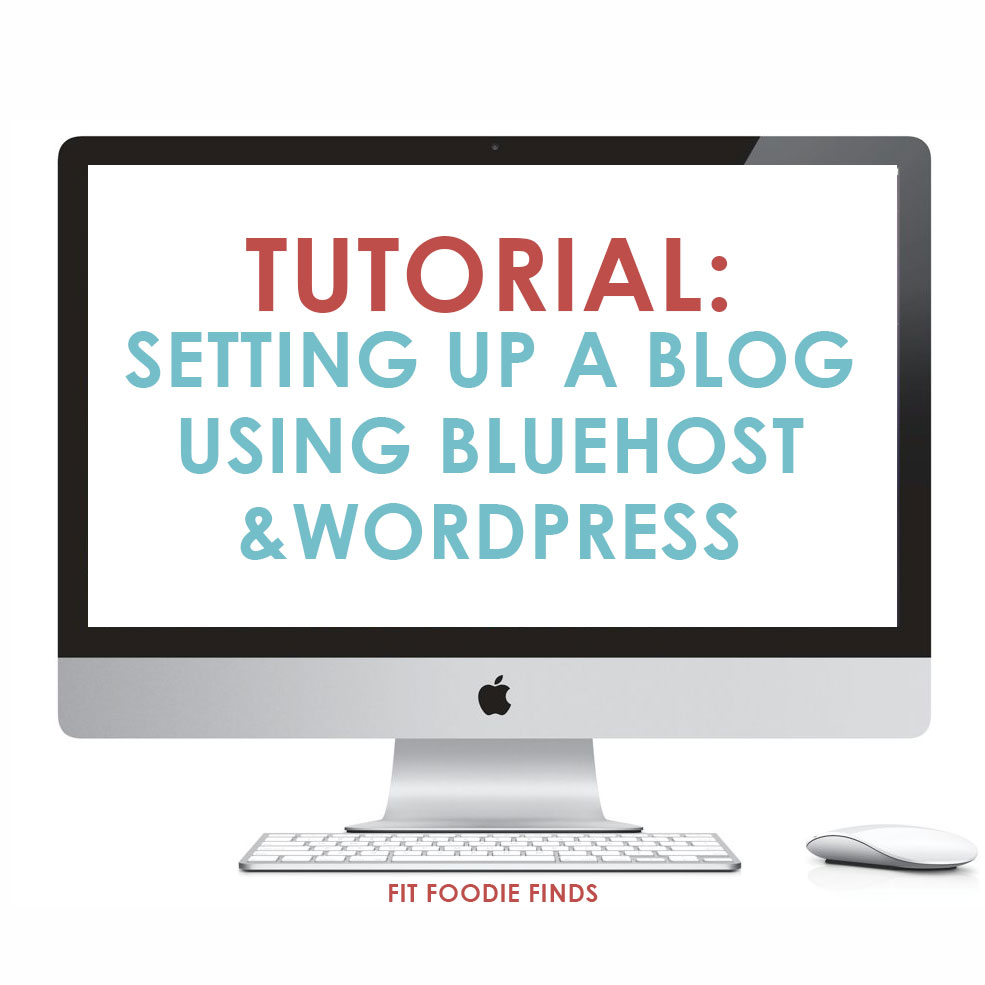
Tutorial: Setting Up a Blog Using Bluehost
In this tutorial I will walk you through how to 1. Purchase a domain name and web hosting through Bluehost AND 2. set up your FREE WordPress account.
![]()
Go to Bluehost.com and Click on “Get Started Now.”

![]()
Search for your preferred domain name and click next. (OR if you’ve purchased a domain name from another provider, but want to purchase hosting through Bluehost, then transfer your existing domain name and click next.)

![]()
Fill out your account information . Easy peasy.

![]()
Choose your desired package. The more years you purchase at a time, the cheaper per month you will receive. The great part about purchasing through Bluehost, is that your domain name is included if you purchase a hosting package!
There is no need to check any of the boxes.

![]()
Fill out the billing information. Once you’re done with that, chick the box and CLICK NEXT.

![]()
At this point, you both purchased your new website and hosting. Now it’s time to create a WordPress account! All of this can be done inside of Bluehost. This is great because it will synch everything up. Click on hosting in the upper-lefthand corner. Then, scroll down to Website Builders and click WordPress.

![]()
At this point you can either start a brand new install (most of you will probably click this) or important your existing blog (ie: if you were a .blogspot.com or a .wordpress.com)

![]()
Type in the domain name that you just purchased and click Check Domain. If it doesn’t work the first time, try it again!

![]()
Click Show Advanced Options and fill out your website’s information. NOTE: This will be the information you use to login to the backend of your site to create new blog posts and access your dashboard.

It’s installing!!!

![]()
Once you’ve gotten your WordPress account created and blog installed inside of it you can exit out of this process and do the rest inside of your WordPress Dashboard.