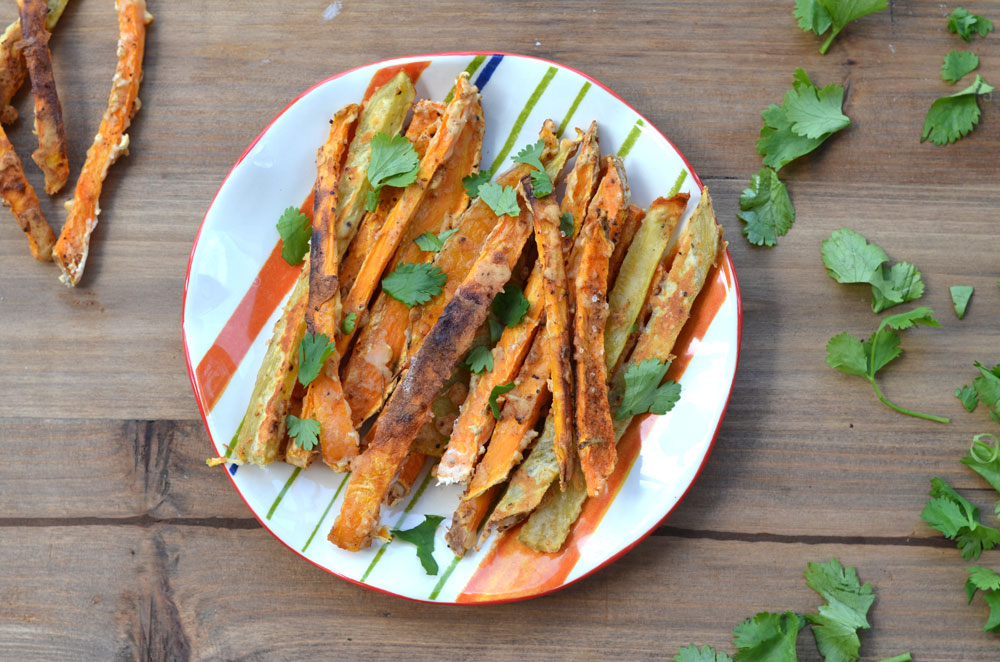
The Crispiest Sweet Potato Fries Ever.
The Crispiest Sweet Potato Fries Ever
I finally figured out the secret to getting CRISPY baked sweet potato fries! For a while there, I didn’t think it would be possible…but let me tell you….the method in this post WORKS LIKE A CHARM.
Can you tell I’m excited?

I started off by doing some research on different methods to make crispy sweet potato fries. Most all of them included soaking in water and coating with some sort flour/starch, so I made sure to use both of those steps in my method! Here are the two posts I read for inspiration: Guaranteed Crispy Sweet Potato Fries via The Art of Stuff and Crispy Sweet Potato Fries via the Guilty Kitchen (which I liked best!).
One thing I did NOT do in this recipe, was use oil…which I almost always do. This step is important to omit if you are used to using oil.
The Crispiest Sweet Potato Fries Ever
Ingredients
- 2 large sweet potatoes (I used 1 sweet potato and 1 yam), thinly and evenly sliced
- 2 egg whites
- 3 tablespoons gluten free flour or all-purpose
- 1 tablespoon steak seasoning/rub, I use Penzey’s Mitchell Street Steak Seasoning
- 1 teaspoon garlic salt
Method
- Preheat oven to 400F and line 2 baking sheets with tin foil. Lightly spray with nonstick cooking spray and set aside.
- Begin by washing and slicing your sweet potatoes. The thinner you can get them, the crunchier they will get. Then, place in a bowl of water and let soak for 15 minutes.
- Once they have soaked, pat dry with paper towel. Make sure all or most of the water gets absorbed. Set aside.
- In a small bowl, whisk 2 egg whites. Then, transfer to a gallon size bag and place sweet potato fries inside. Shake, making sure all of the fries get evenly coated. Next, toss in about 2-3 tablespoons of gluten free (or all-purpose) flour. Shake again, making sure all of the fries get evenly coated. Then, add in steak seasoning and garlic salt. Shake again.
- Transfer fries to baking sheet. Make sure the fries are evenly spread out and NOT touching each other. This is important!
- Bake at 400F for about 30-35 minutes, or until they begin to brown.
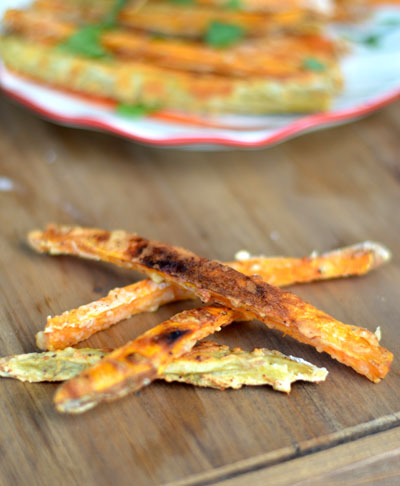
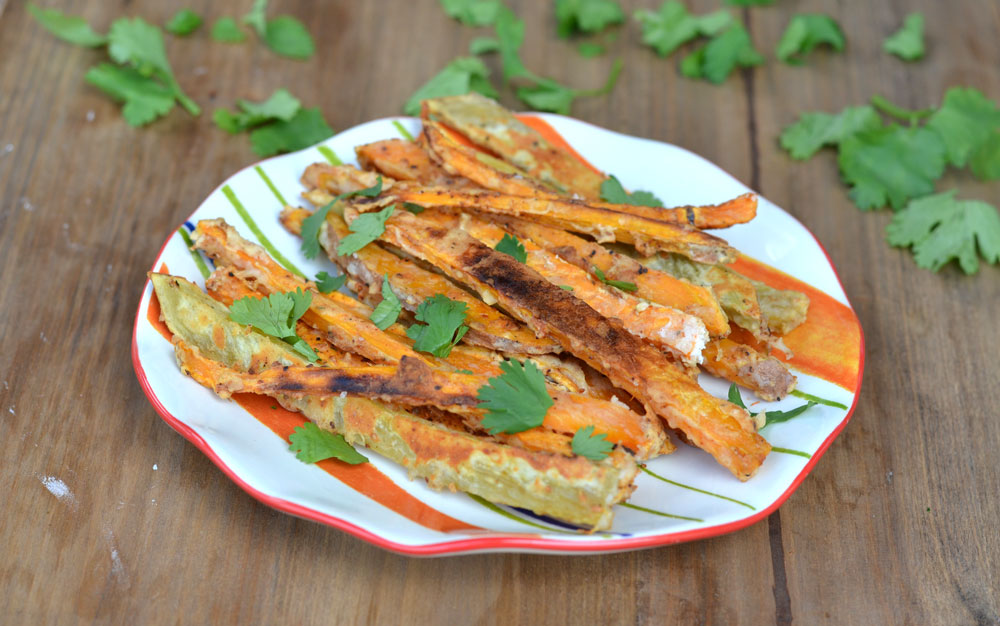
The only downfall of this method, is that there are a few extra steps…but they are definitely worth it!
Happy Thursday
